Essential Fishing Rod Repair Tools for Every Angler’s Kit

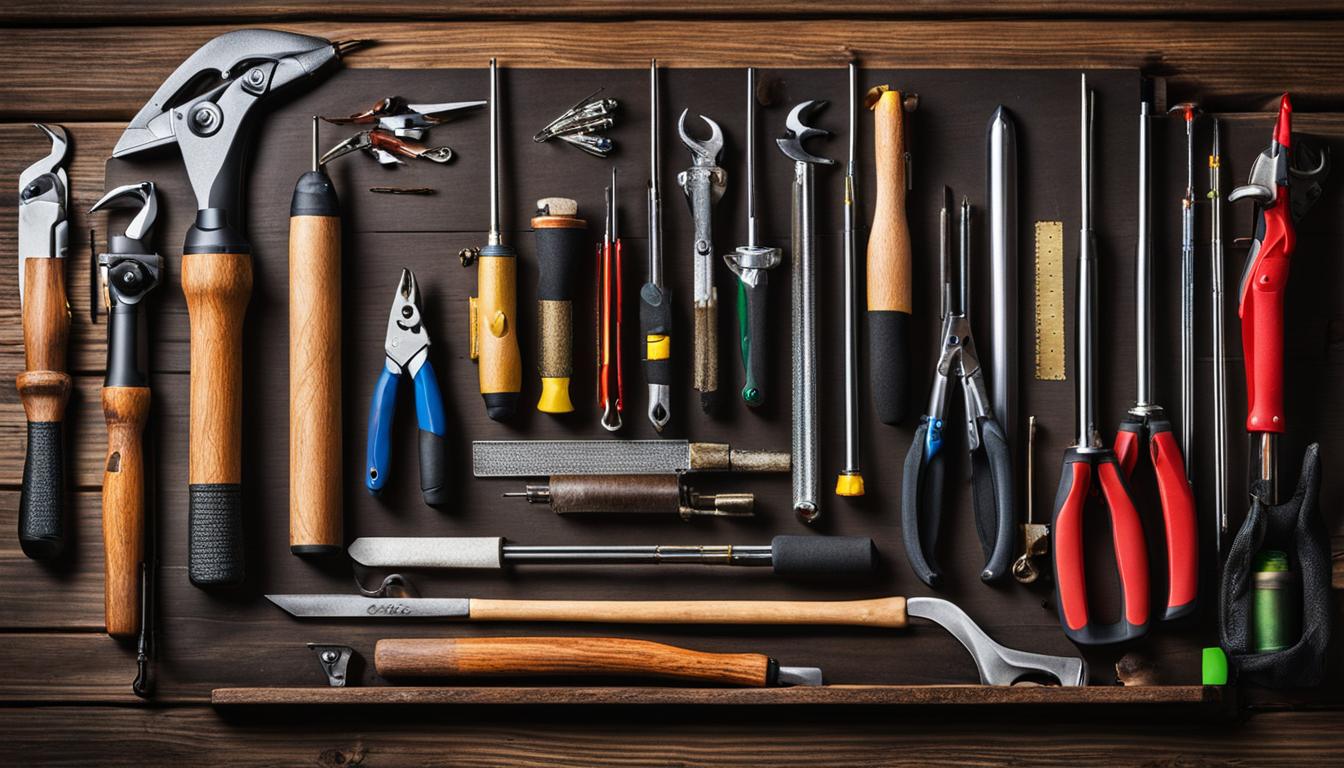
As an angler, it’s important to be prepared for any unexpected equipment issues while out on the water. Having a fishing rod repair kit with essential tools is crucial to keep your fishing rods in optimal condition. With the right tools, you can easily repair broken rod tips, replace guides, and handle other maintenance tasks. Whether you’re a professional angler or a hobbyist, these fishing rod repair tools should be a part of your kit.
Key Takeaways:
- Invest in a fishing rod repair kit to have the necessary tools for on-the-water repairs.
- Replace broken rod tips by heating the old tip, removing it, and applying a new tip with adhesive.
- When a guide on your rod breaks, replace it using super glue and fishing line to secure it in place.
- Repair loose or damaged handles by removing the old handle, cleaning the area, and attaching a new handle with adhesive.
- Damaged eyelets can be replaced by removing the old eyelet, applying adhesive to the new one, and securely attaching it to the rod.
Fishing Rod Maintenance Tools: Keeping Your Gear in Top Shape
As an avid angler, you know the importance of having the right tools to maintain and repair your fishing rods. From guide replacement to handle repairs, having a comprehensive fishing rod maintenance kit is essential for keeping your gear in top shape. In this section, we’ll explore the key tools and techniques you need for common fishing rod repairs.
Fishing Rod Guide Replacement
When the guides on your fishing rod become damaged or worn, it’s crucial to replace them to ensure smooth line flow and optimal performance. To replace a guide, you’ll need a similar-sized guide and some super glue. Use a razor blade to carefully remove the old guide, clean the rod where the new guide will be placed, and then apply adhesive to the new guide and position it properly. Secure the guide with a slip knot using fishing line or dental floss and add drops of super glue as needed. Let it dry completely before using your rod.
| Tools Needed: | Materials Needed: |
|---|---|
| Razor blade | New guide |
| Pliers | Super glue |
| Slip knot tool (fishing line or dental floss) |
Fishing Rod Tip Repair
A broken rod tip can be a frustrating issue, but it’s a repair that can easily be done with the right tools. To fix a broken rod tip, you’ll need a replacement tip and some glue. Heat the metal sleeve of the old tip with a lighter, remove it with needle-nose pliers, and scrape off any leftover adhesive. Apply a small amount of super glue to the tip of the rod blank and slide on the new tip, making sure it is aligned properly. Allow it to dry completely before using your rod again.
| Tools Needed: | Materials Needed: |
|---|---|
| Lighter | Replacement tip |
| Needle-nose pliers | Super glue |
Fishing Rod Handle Repair
If the handle of your fishing rod becomes loose or damaged, it’s important to repair it for a secure and comfortable grip. To fix a handle, you’ll need pliers and adhesive. Remove the existing handle, clean the area where the new handle will be attached, and apply adhesive to both the rod and the inside of the new handle. Attach the handle firmly to the rod, ensuring proper alignment, and use pliers if needed to secure it tightly. Allow the adhesive to dry completely before using your rod.
| Tools Needed: | Materials Needed: |
|---|---|
| Pliers | New handle |
| Adhesive | |
Fishing Rod Eyelet Repair
If you encounter a damaged eyelet on your fishing rod, it’s important to replace it to prevent line snags and ensure smooth line movement. To repair a damaged eyelet, you’ll need a replacement eyelet and adhesive. Carefully remove the old eyelet, clean the area, and apply adhesive to the new eyelet. Place the new eyelet in the same position as the old one, making sure it is securely attached. Allow the adhesive to dry completely before using your rod.
| Tools Needed: | Materials Needed: |
|---|---|
| Pliers | New eyelet |
| Adhesive | |
By equipping yourself with the right fishing rod maintenance tools and following these repair techniques, you can extend the lifespan of your gear and enjoy seamless fishing experiences. Whether you need to replace a guide, repair a broken tip, fix a loose handle, or replace a damaged eyelet, proper maintenance will keep your fishing rods in excellent condition and ready for your next angling adventure.
Rod Tip Repair
One common issue anglers face is a broken rod tip. Luckily, it can be easily repaired with the right tools. To fix a broken rod tip, you’ll need a replacement tip and some glue. The replacement tips can be found in rod tip repair kits that are readily available at fishing stores. Simply heat up the metal sleeve of the old tip with a lighter, remove it with needle-nose pliers, and scrape off any leftover adhesive. Apply a small amount of super glue to the tip of the rod blank and slide on the new tip, making sure to align it properly with the other guides. Quick and easy, this repair will have your rod ready for action again in no time.
Remember, a broken rod tip can significantly impact the performance of your fishing rod. It can affect the casting distance, accuracy, and overall sensitivity. By promptly repairing the broken tip, you can ensure that your fishing rod maintains its optimal functionality. Don’t let a broken rod tip ruin your fishing trip – invest in the necessary tools and take a few minutes to fix it on the spot. With a reliable rod tip repair kit in your fishing gear, you’ll be prepared for any unexpected mishaps and enjoy uninterrupted angling adventures.

Table: Rod Tip Repair Kit Components
| Component | Description |
|---|---|
| Replacement Tip | A new tip to replace the broken one |
| Super Glue | An adhesive to secure the new tip |
| Lighter | Used to heat the metal sleeve of the old tip |
| Needle-Nose Pliers | For removing the old tip and handling small parts |
| Razor Blade | Used to scrape off leftover adhesive |
By having these essential components in your rod tip repair kit, you’ll be equipped to handle any broken rod tip situations. Whether you’re on a fishing trip or preparing your gear at home, having a rod tip repair kit at your disposal is a smart move for every angler.
Fishing Rod Guide Replacement
Replacing a damaged or broken guide on your fishing rod is crucial to ensure smooth line flow and optimal performance. With the right tools and materials, you can easily replace a guide and get back to enjoying your fishing adventures.
The Guide Replacement Process
When replacing a guide, you will need a similar-sized guide, super glue, a razor blade, and some thread. Follow these steps:
- Use a razor blade to carefully remove the damaged or broken guide, making sure to scrape off any remaining thread.
- Clean the area where the new guide will be placed to ensure a secure bond.
- Apply a small amount of super glue to the new guide and position it in the channel created by the old guide.
- Use a slip knot with fishing line or dental floss to secure the guide in place, making a few wraps above and below the guide.
- Add drops of super glue as needed and secure the line with overhand knots.
- Allow the glue to dry completely before using the rod.
By following these steps, you can easily replace a damaged guide and maintain the performance of your fishing rod.

| Tools and Materials | Description |
|---|---|
| Similar-sized guide | A guide that matches the size and type of the one being replaced. |
| Super glue | A strong adhesive to securely attach the new guide. |
| Razor blade | Used to carefully remove the old guide and scrape off remaining thread. |
| Thread | Used to secure the new guide in place. |
Fishing Rod Handle Repair
If the handle of your fishing rod becomes loose or damaged, it’s important to repair it promptly to ensure a secure and comfortable grip. With the right tools and techniques, you can easily fix a handle-related issue and get back to enjoying your fishing adventures. Here’s a step-by-step guide on how to repair a fishing rod handle.
Tools Needed:
- Pliers
- Adhesive
Step 1: Start by removing the existing handle. Depending on the design, you may need to unscrew or cut it off. Be careful not to damage the rod while removing the handle.
Step 2: Clean the area where the new handle will be attached. Use a cloth or alcohol wipe to ensure it is smooth and free of any debris.
Step 3: Apply adhesive to both the rod and the inside of the new handle. Make sure to use an adhesive that is suitable for bonding the materials of your fishing rod.
Step 4: Firmly attach the new handle to the rod, aligning it properly. Use pliers if necessary to ensure a tight and secure fit.
Step 5: Allow the adhesive to dry completely before using the rod. This will ensure that the handle is securely bonded to the rod and ready for action.
Table: Fishing Rod Handle Repair Steps
| Step | Description |
|---|---|
| Step 1 | Remove the existing handle |
| Step 2 | Clean the attachment area |
| Step 3 | Apply adhesive to rod and new handle |
| Step 4 | Attach the new handle, align properly |
| Step 5 | Allow adhesive to dry completely |
By following these steps, you can effectively repair a fishing rod handle and ensure a comfortable and secure grip during your fishing trips. Remember to use the appropriate tools and materials for the best results. With a properly repaired handle, you’ll be able to fully enjoy your fishing experience and reel in those big catches with confidence.
Eyelet Repair
When it comes to fishing rod repair, one of the common issues anglers face is damaged eyelets. Damaged eyelets can disrupt the smooth flow of the fishing line, leading to frustrations and missed catches. To ensure a hassle-free fishing experience, it’s important to know how to repair your fishing rod’s eyelets.
To repair a damaged eyelet, you’ll need a replacement eyelet and some adhesive. Start by carefully removing the old eyelet using pliers or a cutting tool. Once the old eyelet is removed, clean the area where the new eyelet will be placed to ensure a secure attachment.
Replacing the Eyelet
Next, apply adhesive to the new eyelet and carefully place it in the same position as the old one. Make sure the new eyelet is securely attached and aligned properly to maintain the smooth line flow. Allow the adhesive to dry completely before using the rod again to ensure a strong bond.
By replacing the damaged eyelet, you can prevent any line snags and ensure optimal performance during your fishing trips. It’s a relatively simple repair that can make a big difference in your overall fishing experience.
| Step | Materials Needed |
|---|---|
| 1 | Replacement eyelet |
| 2 | Adhesive |
| 3 | Pliers or cutting tool |

Tips for Using Wrapping Thread
- Choose a thread color that complements your fishing rod’s design or personal preference.
- Ensure that the thread is tightly wound around the designated areas for maximum strength and durability.
- Use an appropriate adhesive to secure the wrapping thread in place and prevent it from unraveling.
- Consider using different thread thicknesses for different parts of the rod, such as thicker thread for guide wraps and thinner thread for decorative accents.
- Experiment with different wrapping patterns to create unique designs and add a personal touch to your fishing rod.
Fishing Tool Kit Recommendations
When it comes to fishing rod repairs and maintenance, having the right tools is crucial. In addition to the specific tools mentioned in the previous sections, a comprehensive fishing tool kit can greatly benefit anglers. These kits typically include a variety of essential tools that can come in handy during fishing expeditions.
Some popular fishing tool kit brands include Rapala, Berkley, and Piscifun. These brands offer high-quality tools that are designed to withstand the rigors of fishing and provide long-lasting performance. When selecting a fishing tool kit, consider your specific needs and the quality of the tools included. Investing in a reputable and reliable brand will ensure that you have all the necessary tools for fishing rod repairs and maintenance.
In addition to the fishing tool kit, another essential item for fishing rod repairs and maintenance is wrapping thread. Wrapping thread is used to secure guides, wraps, and other components to the fishing rod. It provides added strength and protection, ensuring that your rod can withstand the demands of fishing. There are various types and colors of wrapping thread available, allowing you to customize the appearance of your rod.
By equipping yourself with a comprehensive fishing tool kit and wrapping thread, you’ll have everything you need to handle common fishing rod repairs and maintenance tasks. Whether you’re replacing a broken rod tip, repairing a damaged guide, fixing a loose handle, or replacing a reel seat, having the right tools at your disposal will make the process easier and more efficient.

Table: Comparison of Fishing Tool Kits
| Brand | Number of Tools | Quality | Price |
|---|---|---|---|
| Rapala | 30 | High | $ |
| Berkley | 25 | Medium | $$ |
| Piscifun | 20 | High | $$ |
Conclusion
Properly maintaining and repairing your fishing rods is essential for their longevity and optimal performance. By having essential fishing rod repair tools, such as those mentioned in this article, you can easily handle common repairs like rod tip replacement, guide repair, handle fixes, and more. These fishing rod repair tools are vital for any angler’s kit, whether you’re a professional or a hobbyist.
In addition to the repair tools, it’s also important to have a comprehensive fishing tool kit that includes pliers, scissors, and hook removers. Investing in a high-quality kit, like those from Rapala, Berkley, or Piscifun, will ensure that you have all the necessary tools for fishing rod repairs and maintenance.
Don’t forget to include wrapping thread in your arsenal as well. Wrapping thread provides added strength and protection to the rod, ensuring it can withstand the rigors of fishing. With the right tools and a little know-how, you can keep your fishing rods in great shape and enjoy many successful fishing adventures.
FAQ
What are some essential fishing rod repair tools?
Essential fishing rod repair tools include a fishing rod repair kit, replacement tips, super glue, pliers, adhesive, wrapping thread, and a variety of tools found in a fishing tool kit.
How do I repair a broken rod tip?
To repair a broken rod tip, you’ll need a replacement tip and some glue. Heat up and remove the old tip, clean the rod blank, apply glue, and attach the new tip.
How do I replace a damaged guide on my fishing rod?
To replace a damaged guide, you’ll need a similar-sized guide and adhesive. Remove the old guide, clean the area, apply adhesive to the new guide, secure it with fishing line or dental floss, and let it dry.
How do I fix a loose or damaged handle on my fishing rod?
To fix a loose or damaged handle, remove the existing handle, clean the area, apply adhesive to the rod and inside the new handle, firmly attach the handle, and let the adhesive dry.
What should I do if an eyelet on my fishing rod is damaged?
To repair a damaged eyelet, you’ll need a replacement eyelet and adhesive. Remove the old eyelet, clean the area, apply adhesive to the new eyelet, and securely attach it.
How do I replace a damaged or broken reel seat on my fishing rod?
To replace a damaged or broken reel seat, you’ll need a new reel seat, adhesive, and rod-building epoxy. Remove the old reel seat, clean the rod blank, apply adhesive, attach the new reel seat, and apply rod-building epoxy for added stability.
What is fishing rod wrapping thread used for?
Fishing rod wrapping thread is used to secure guides, wraps, and other components to the fishing rod, providing strength and protection.
What are some recommendations for fishing tool kits?
Popular fishing tool kit brands include Rapala, Berkley, and Piscifun. When selecting a fishing tool kit, consider your specific needs and the quality of the tools.
How important is it to properly maintain and repair fishing rods?
Proper maintenance and repair of fishing rods are essential for their longevity and optimal performance. The right tools and know-how can help keep fishing rods in great shape for successful fishing adventures.


